Fine points of CV carb internals - Needle jet vs. Jet needle
(by Mr. Steve)
The needle that is held in place with
a circlip and has the two spacers, is the "jet needle". It is located in
the slide that is part of the diaphragm assembly. As the slide moves,
the jet needle goes up and down in the "needle jet", sometimes called an
"emulsion tube".
The "float needle" is, remarkably
enough, somewhat connected to the "floats", those big things that
regulate how much fuel is allowed to sit in the "float bowls". Once you
have removed the floats, you can remove the float needle and inspect
it. What you don't want to see is a groove around the tip. If the
tapered area is all smooth, the needle is good. Now remove the housing
the needle was sitting in by removing the Philips-head screw and
pulling it out. THAT is where you will find (an) o-ring that comes in
the (cycleorings.com) kit. While you have that assembly out, inspect the filter screen
that should be attached. Clean it carefully and re-install it after you
have dipped the rest of the carb parts. Put a drop of oil on the o-ring
before inserting it into its bore to help prevent tearing it up.
-----------------------------------------------------------
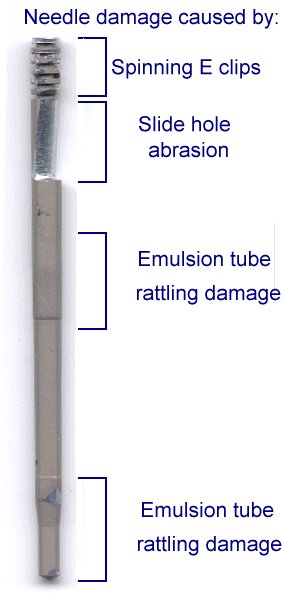
Think you might have worn jets and/or needles? Click below for pictures and information.
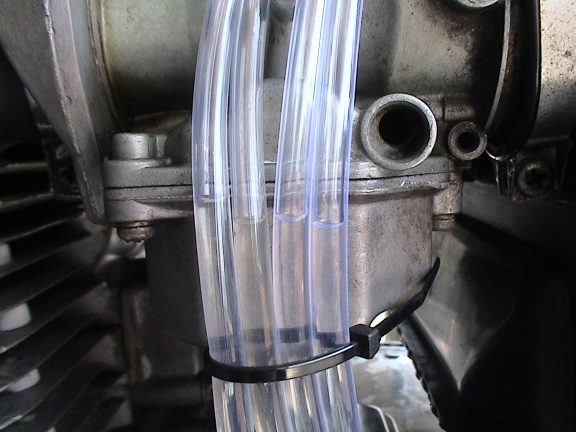
The shimming is acomplished by completely removing the slides from the carb bodies
Inside the top of the slide is a snap ring. Remove the snap ring and
the needle will come out. On top of the needle is a nylon washer about
3-4mm thick.
Replace the nylon washer with smaller thickness washers of your choice.
This creates a richer mixture or allows more fuel to flow.
Reassemble the slides and install them back into the carb bodies, making sure to
align the tab of the rubber diaphram on the top of the carb body.
Put the caps back on the carbs and start her up.
Note: This isn't a substitute for jetting. This is just a way to make the bike run a
little richer and take advantage of the full power band. This procedure
can be acomplished with the carbs on the bike, no need to remove them.
(as explained by Mr. Steve)
Remove the tops of the carbs. You might be able to just remove the four
screws that hold the 'dome' on the top of the carb and lift it off.
There is a soft rubber diaphragm right under it with a light-weight
spring between it and the cap. Gently remove the diapragm, lift it out
of the carb. Look down the center slide, you will see a circlip at the
bottom. It takes a very long pair of needle-nose pliers (Sears, $10) or a
good set of circlip pliers to remove it. Pull the nylon stem out of the
slide, noting its orientation. When the stem is out, you will be able
to remove the jet needle. There should be a thick nylon spacer at the
top of the needle, then a circlip, then a metal washer, then a spring.
The needle position is determined by the thickness of the spacer above
it, so go to Radio Shack and get their bag of assorted washers (about
$2). The smallest ones work perfectly. Stack up the washers to see how
many it takes to equal the thickness of the nylon spacer (usually about
4). Cut that in half, put them on in place of the nylon spacer, put
everything back together. When you put the diaphragms back in place,
note that there is a tab on one side of the edge, it fits into a shaped
area on top of the carb. Snug everything back into place, it should be
good to go.
Mikuni Jet/DynoJet conversion spreadsheet:
(Thanks to Mr. salty_monk)
Download
a spreadsheet which will do the conversions between stock Mikuni jets
and DynoJet parts (conversion factor: 0.9375). CLICK HERE to download.